


Recently I shared with you about the Stampin’ Sisters Holiday Hoopla I hosted for demonstrators with my sister Peggy. If you missed it you can see all that HERE. Today I wanted to share the Framed Art project I created for the event. Everyone in attendance received the frame and supplies to make this project. It’s right in keeping with the super popular Farm House Decor found everywhere these days.

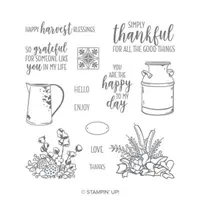
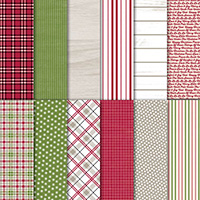
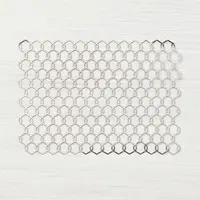
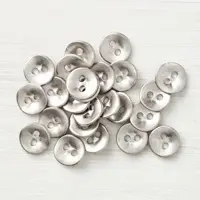
The Country Home stamp set and nearly all of the product used on the project came from the holiday catalog. As soon as I saw the Country Home stamp set and all of the “farm house” type elements, I knew a framed art piece was the best ways to showcase these products. I purchased the 8″ x 10″ shadowbox frame online through Michael’s craft store and then went about adding layers, texture, and accessories.
Because this project was the favorite of our event, I thought it was likely that more of you would be interested in making one. And, because I’m celebrating my 15th year Anniversary with Stampin’ Up!, I’ve decided to offer a tutorial with the dimensions and instructions to everyone who places a minimum $25 order through my website. Once you’ve placed the order, I’ll receive and email from Stampin’ Up! letting me know you placed the order and I will email you a PDF file with full instructions including measurements and step by step photos.
My Country Home Framed Art Tutorial is available on all orders (minimum $25 in product) placed through my online store from September 20th -October 4th. PDF files will be emailed beginning Sunday September 23rd.
Order your supplies here


I love your techniques, coloring and placements of all you’ve done. Problem is….. your photos seem dark, or grey tinted. That won’t deter me from continuing…. just thought you’d like to know.
Thanks Nessy, I struggled with the photo because the glare of the light with the picture frame.