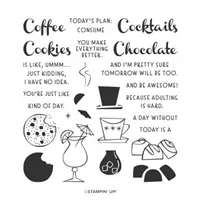
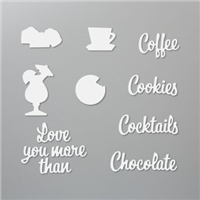
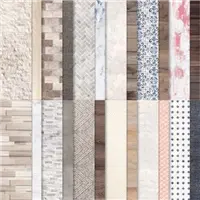
Those of you that know me well, know that I LOVE chocolate, in fact there’s Nothing Better Than Chocolate! For today’s card I used the Nothing’s Better Than stamp set and the coordinating Love you More Than Dies to create this chocolate inspired card. Also please note the In Good Taste Designer Series Paper I used on the card. It is one of the Designer Series Paper Packs that is included in the Designer Series Paper Sale (check out the details for that below).

Measurements:
- Early Espresso: 8-1/4” x 4-1/4” scored at 5-1/2” for card base also cut a piece 4” x 2-1/2” and 3” x 1”
- Basic White: 5-1/4” x 4” for inside and 2 pieces 3-1/4” x 2”
- In Good Taste Designer Series Paper: 2-1/2” x 4”
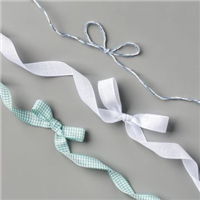
- White ribbon from the Every Season Ribbon Combo Pack: 3”
Instructions:
- Fold the large Early Espresso piece on the score line for the card base and attach the In Good Taste Designer Series Paper to the front of the card
- On one of the small Basic White pieces stamp the sentiments in Early Espresso ink
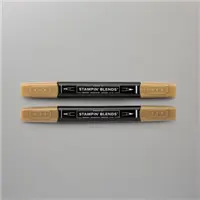
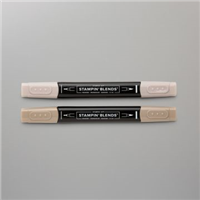
- On the other small Basic White piece stamp the chocolate image twice with Early Espresso Ink. Color the chocolate on the right with Dark Soft Suede Stampin’ Blend and the one on the left with Dark Crumb Cake Stampin’ Blends then color over the chocolates with Wink of Stella. Do this on each stamped chocolate image and die cut these with the die from Love You More Than Dies

- On the large Basic White piece stamp the sentiment and chocolate image in Early Espresso Ink and color them in as you did on the previous step including the Wink of Stella, then attach this to the inside of the card
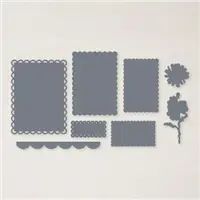
- Use the third largest Scalloped Contours Dies to cut the 4” x 2-1/2” piece of Early Espresso cardstock
- Cut out “chocolate” using the Love You More Than Dies and the smallest Early Espresso piece of cardstock.
- Color the white ribbon with the Dark Soft Suede Stampin’ Blends and snip a notch in each end of the ribbon, fold the ribbon in half and attach to the backside of the Basic White piece that has the sentiments on it, then attach this piece to the scalloped layer with Stampin’ Seal
- Attach the scalloped layer to the front flap of the card with Stampin’ Dimensionals being sure to place the dimensionals only on the left side of the scalloped piece, so the card is not accidentally sealed shut
- Attach the cut out chocolates to the sentiment layer with Dimensionals and finally attach the “chocolate” die-cut piece to the stamped chocolates with Multipurpose Liquid Glue
You can view the papers that will be offered at 15% off by clicking HERE

You can order the supplies for today’s card by clicking the products below which will take you directly to my online store.

CURRENT HOST CODE: Use this host code to place your online order. If your order is over $150 DO NOT use the code – you’ll get your own Stampin’ Rewards from Stampin’ Up! and you’ll still get the project tutorials from me. Just copy/paste this code: 79JRQZQR when placing your order.
FOLLOW ME….
Facebook: https://www.facebook.com/tinasstampinstudio/
Pinterest: https://www.pinterest.com/tinarappe/stampin-studio-creations/
Sign up for my Newsletter: https://stampinstudio.com/subscribe


