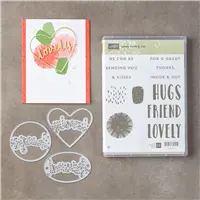
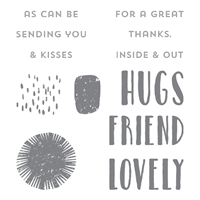
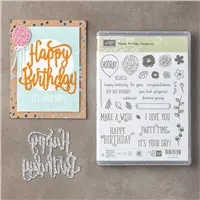
Yes, that’s right, we’re showcasing another bundle today. This time it’s the Lovely Inside & Out stamp set (the stamped sentiment) and the Lovely Words Framelits. I paired this bundle with the Delightful Daisy Designer Series Paper, which is where I got the inspiration for my color palette. I made this card for a swap I participated in at a demonstrator Make & take event I put on with my sister each time a new Stampin’ Up! catalog comes out.
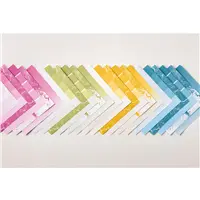
Today’s Color Palette

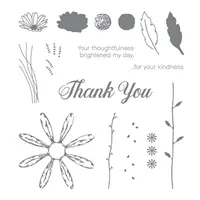
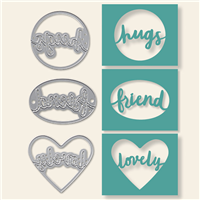
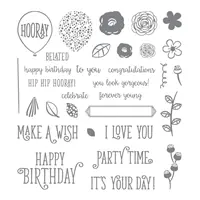
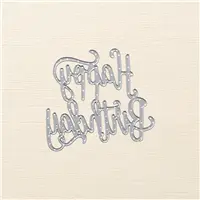
The framelits come in a set of three which say Hugs, Lovely and Friends. For today’s card I used the “friend” framelit and cut the oval portion off and attached just the word to a circle I cut out using the Layering Circles Framelits. I then mounted this circle onto p scallop circle cut out from the same Layering Circles Framelits. The adorable row of daisies stamped under the “friend” die cut was stamped with the Daisy Delight stamp set.

Lovely Inside & Out Bundle 145324
Measuring Up!
Wisteria Wonder: 4-1/4″ x 11″ scored at 5-1/2″ and 2-1/2″ x 1/2″ for banner
Calypso Coral: 4″ x 5-1/4″ and scraps for “friends” and Scallop Circle
Delightful Daisy DSP: 3-3/4″ x 5″
Whisper White: scrap for Circle