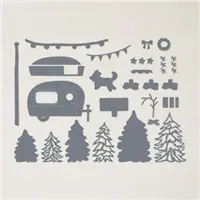
Have you seen the Tree Lot Dies yet? If not, check them out page 12 & 13 of the Sale-a-bration catalog! This is one of the FREE items you can select from during Sale-a-bration (now through August 31st) with a $100 purchase. I used the tree Lot Dies to create this retro camper and I LOVE how it turned out!

Color Combo

Measurements:
- Coastal Cabana: 6-1/2” x 5-1/2” scored at 4-1/4” for card base and 3” x 2”
- Basic White: 4” x 5-1/4”, 3” x 3” and 3” x 2”
- Basic Black: 3-1/4” x 3-1/4” and 3” x 2”
- Smoky Slate: 3” x 2”
- Soft Sea Foam: 3” x 2”
- Vellum 2” x 1”
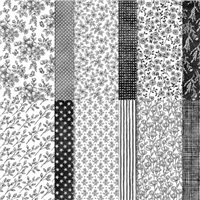
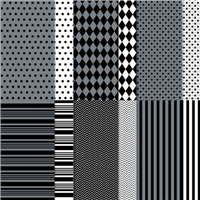
- Black & White Designs DSP: 2” x 5-1/4”
Instructions:
- Fold card base at score line, then attach the piece of Black & White Designs DSP to the left side of card.
- Attach large Basic White piece to the inside of the card with Stampin’ Seal.
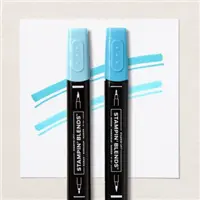
- Use Coastal Cabana ink and Blending Brush to add a light base of blue to the 3” x 3” piece of Basic White (this will be the sky).
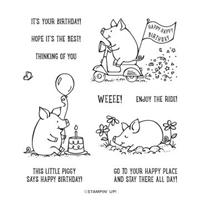
- Stamp sentiment from Sunny Splash in Memento Ink on the top portion of the “sky”.
- Tear about ½” off the long edge of the Soft Sea Foam cardstock to create grass, then attach this to the Basic White piece that was just colored with the Blending Brush.
- Attach the sky/grass piece to the large Basic Black piece with Seal
- Attach the layered piece to the left side of the card with Stampin’ Dimensionals being careful to only put Dimensionals of the left portion, so you don’t seal your card shut.
- Using the Tree Lots Dies, cut the “camper” from the 3” x 2” pieces of Basic White, Basic Black, Coastal Cabana, and Smoky Slate.
- Use the Paper Snips to carefully cut the “camper” apart following the lines on the camper pieces as shown:

- Basic Black: Cut the “door” off keeping the rest in one piece. You will use both the door and the camper.
- Basic Gray: Cut the “hub cap” and glue it to the wheel of the camper
- Basic White: Cut the wheel and hitch off and discard, Adhere the white camper to the black camper.
- Coastal Cabana: Cut the “center stripe” from the camper and adhere this to the white camper.
- Attach black door to the camper over the white and blue layers
- On the backside of the camper attach the Vellum with Liquid Glue to cover the windows
- Die-cut the flag banner from the scrap of Basic White and color the flag banner with Soft Sea Foam, Coastal Cabana and Basic Black Markers are shown and attach this to the camper with Liquid Glue
- Attach the camper to the sky/grass piece with Dimensionals
- Attach a small white Classic Matte Dot for the door handle and attach 3 large Black Classic Matte Dots to the lower right side of the card as shown.
Supplies used on todays card can be ordered by clicking on the photos below.