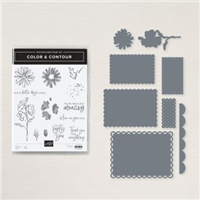
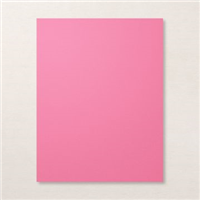
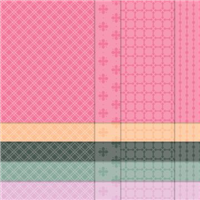
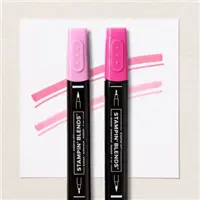
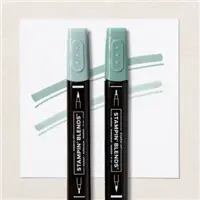
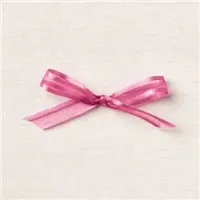
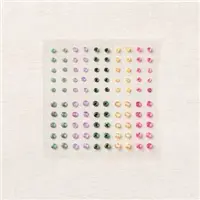
My In Color Club members all received this bundle of products featuring Polished Pink as the color of the month. There are so many great things about Stampin’ Up! products and one that I appreciate so much is the color coordination. Look at all the products that come in Polished Pink: Cardstock, Designer Series Paper, Ink, Stampin’ Write Marker, Stampin’ Blends Markers, Ink Refill, and Ribbon.
 Color coordination sure makes creating beautiful projects easy! Let’s take a close look at the card of the month featuring the Color & Contour Bundle

Measurements:
- Polished Pink: 4-1/4” x 11” scored at 5-1/2”
- Basic White: 4” x 5-1/4” (cut 2)
- Polished Pink Designer Series Paper: 3” x 3”
- Polished Pink Open Weave Ribbon: 5”
Instructions:
- Cut the scallop edge on the front of the Polished Pink piece by laying the scalloped die along the left side of the card front and run it through the Stampin’ Cut Machine and trim the top edge off before folding the card on the score line.
- Attach one of the Basic White pieces to the inside of the card with Stampin’ Seal
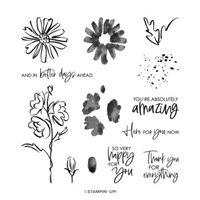
- On the remaining Basic White piece, stamp the flower image with Memento Ink along the side and color flowers with Polished Pink Stampin’ Blends and leaves and stem with Soft Succulent Stampin’ Blends.
- Cut out flowers with flower die from Scalloped Contours Die. Also cut the smallest rectangle die from Scalloped Contours and a scalloped Circle from the 2nd largest scalloped circles from the Layering Circles Dies.
- Cut a circle from the Polished Pink Designer Series Paper using the third largest circle from the Layering Circles Dies
- Attached Polished Pink circle to Basic White scalloped circle with Stampin’ Seal, then attach it to the card front with Stampin’ Dimensionals.
- Attach Dimensionals to the back of the flowers and attach them to the circle layers
- Stamp the sentiment on the Basic White scallop rectangle with Memento Ink and attach to card front with Dimensionals
- Tie a knot in the ribbon and trim ends before attaching the ribbon to the flower stem with a Mini Glue Dot
- Finish the card with three of the Polished Pink Jewels
You can order the supplies for this card by clicking the products below which will take you directly to my online store.
 CURRENT HOST CODE: Use this host code to place your online order. If your order is over $150 DO NOT use the code – you’ll get your own Stampin’ Rewards from Stampin’ Up! and you’ll still get the project tutorials from me. Just copy/paste this code: YRDZQYMSwhen placing your order.
FOLLOW ME….
Facebook: https://www.facebook.com/tinasstampinstudio/
Pinterest: https://www.pinterest.com/tinarappe/stampin-studio-creations/
Sign up for my Newsletter: https://stampinstudio.com/subscribe


