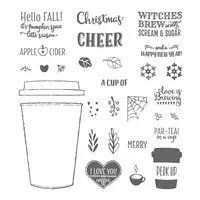
With the days feeling much more like fall than summer, I thought I’d share this cute treat holder which features the Merry Cafe’ stamp set. This little pouch holds a packet of apple cider- how perfect is that?

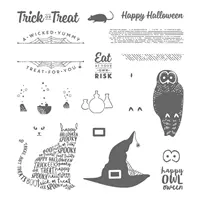
The Merry Cafe’ stamp set from the Holiday Catalog coordinates with the Coffee Cups Framelits from the Annual Catalog. The set has 29 stamps that have sentiments and images for Halloween, Fall, Christmas, Valentines and New Years as well as some general images. I love that kind of versatility!
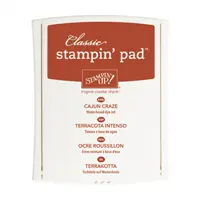
Today’s Color Palette

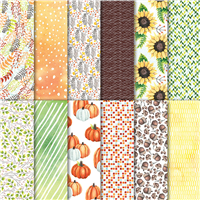
I think the colors and pattern in the Painted Harvest Designer Series Paper really makes this project pop!

Painted Harvest Designer Series Paper 144613
Measurements:
Cajun Craze: 4-1/4″ x 8-3/4 scored at 4-1/4″ and 4-1/2″ for pouch
Early Espresso: 2-1/4″ x 3″ for cup
Crumb Cake: 2-1/4″ x 2″ for lid and cup wrap
Painted Harvest Designer Series Paper: 1-3/4″ x 10-1/2″ for belly band
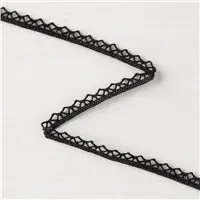
Copper Trim: 12″
Linen thread: 12″
Instructions:
Fold Cajun Craze on score lines
Wrap belly band around punch and secure with adhesive.
Wrap Copper Trim around belly band
Stamp and cut out the cup and attache to pouch with dimensionals.
Tie linen thread in double bow and attach with Mini Glue Dot.
Slide a packet of Apple Cider into the pouch and enjoy.


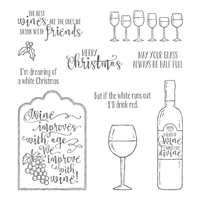
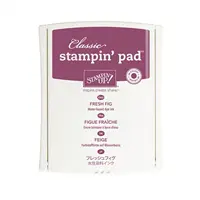
 I think this stamp set called Half Full is such a great set for anyone who enjoys wine. I myself am not a wine drinker but many of my friends are. The sentiments are wonderful and I really like the fonts used. The images are stamped on water color paper in Basic Black ink and colored in with an Aqua Painter and Fresh Fig ink. The pretty printed paper is the Eastern Palace Specialty Designer Series Paper and all of this pops with the addition of the Gold Foil Paper.