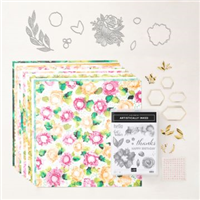
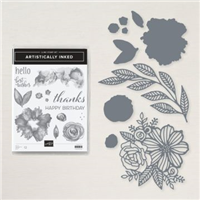
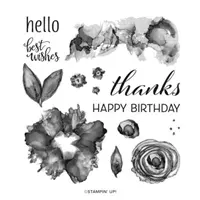
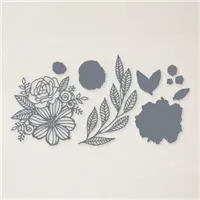
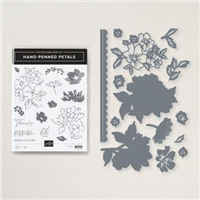
I created this soft and feminine card featuring the Hand-Penned Petals Bundle and the Stitched Greenery Die. I am so happy with the way it turned out with layers and texture and a bit of bling!

Color Combo
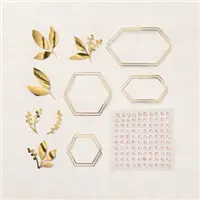
The card base is Thick Very Vanilla which was textured with the Stitched Greenery Die. I must say that die is one of my absolute favorite new products! Next I added a piece of Blushing Bride which has a scallop border cut from the Penned Flowers Dies and then textured with the same Stitched Greenery Die. The flower image was stamped in Basic Gray then filled in with Blushing Bride and the leaves are Crumb Cake. I popped them up with Stampin’ Dimensionals after I cut them out with the Penned Flowers Dies. A
Before I share links to the products used on this card, I want to let you in on a special deal that is happening tomorrow, Thursday, June 24th only.

Free shipping doesn’t come around often, but when it does, nearly everyone takes advantage of it! It’s time for you to stock up and save on your favorite Stampin’ Up! products! This incredible deal lasts for 24 hours only, this Thursday, June 24th beginning at 12:00 AM and ending at 11:59 PM (MT) you will get FREE shipping with a purchase of $50 USD or more (before tax).
You can order the supplies for today’s card by clicking the products below which will take you directly to my online store.


Thank you for taking time to visit my blog, for shopping with me and for your loyalty to Stampin’ Studio! I know there are a lot of demonstrators out there to choose from… THANK YOU for choosing me! To show my appreciation, I have something special for you! When you use the Host Code on your order, you earn rewards from me! Place an order of $30 or more using my current host Code and you’ll receive 4 card project tutorials that you will not see featured on my blog.
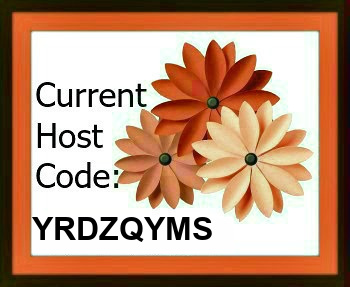 CURRENT HOST CODE: Use this host code to place your online order. If your order is over $150 DO NOT use the code – you’ll get your own Stampin’ Rewards from Stampin’ Up! and you’ll still get the project tutorials from me. Just copy/paste this code: YRDZQYMS when placing your order.
FOLLOW ME….
Facebook: https://www.facebook.com/tinasstampinstudio/
Pinterest: https://www.pinterest.com/tinarappe/stampin-studio-creations/
Sign up for my Newsletter: https://stampinstudio.com/subscribe